准备工作
1.首先我们需要下载 打包软件 Inno Setup.exe 立即下载
官方地址:Inno Setup Downloads
2.安装它
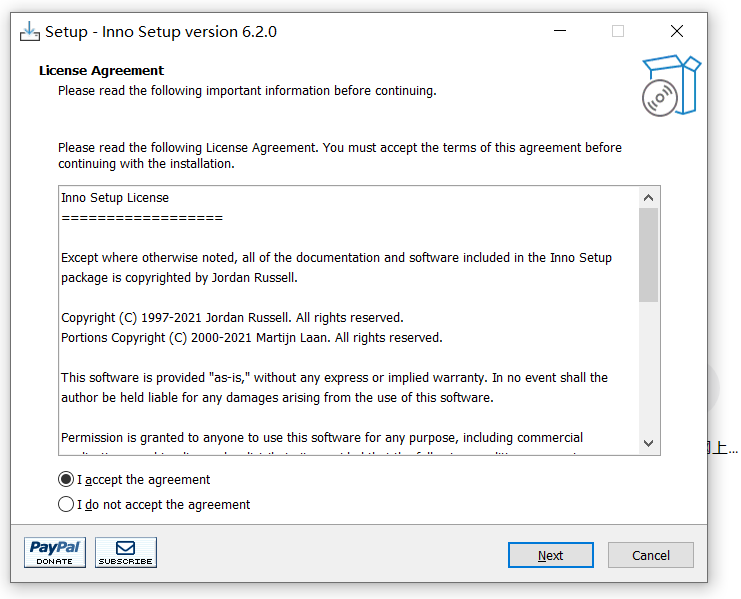
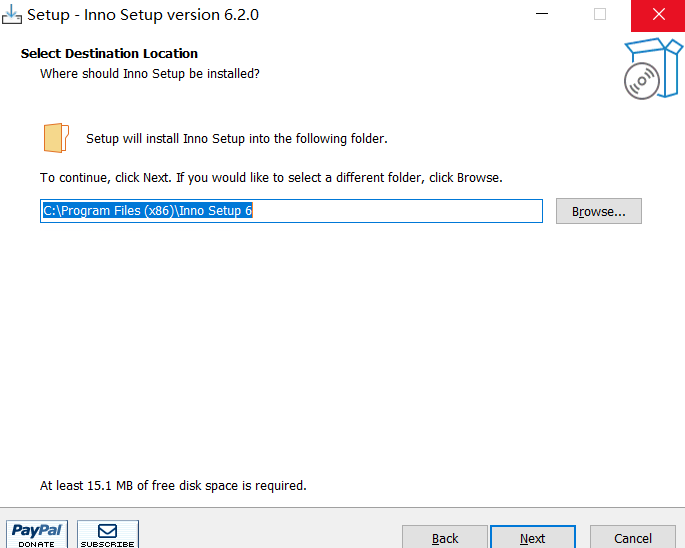

无脑Next 完事, 安装完毕后软件关掉即可
- 配置环境变量
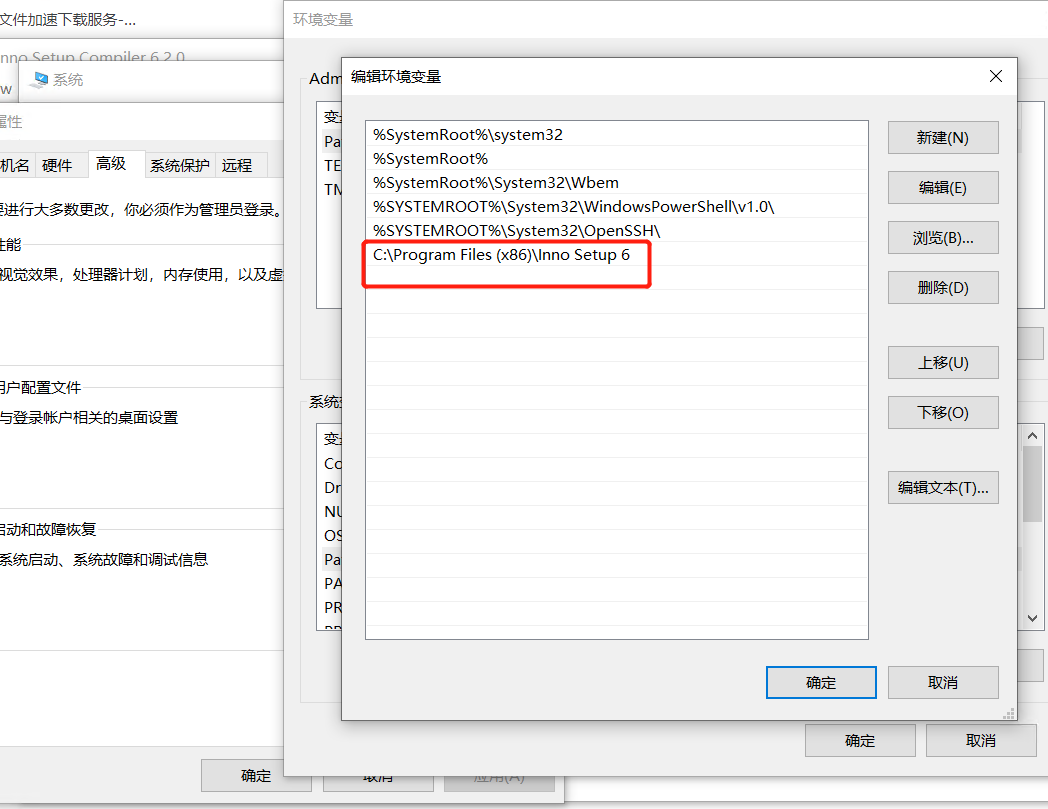
根据你安装的路径来配置即可。
4.安装包增加简体中文
下载完毕后需要将ChineseSimplified.isl放置到 Inno Setup的安装路径中的Languages文件夹中
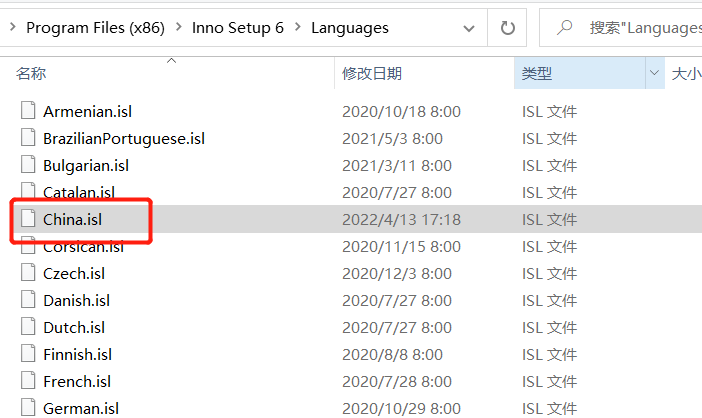
当然我这里在摸索过程中已经重名了懒得修改了
下面仓库的代码中也附带了
China.isl文件在resources/assets/windows中
5.在你的pom 文件中加入 插件配置
 <plugin>
        <groupId>io.github.fvarrui</groupId>
        <artifactId>javapackager</artifactId>
        <version>1.6.6</version>
        <executions>
            <execution>
                <id>bundle-jre</id>
                <phase>package</phase>
                <goals>
                    <goal>package</goal>
                </goals>
                <configuration>
                    <!-- 主程序 -->
                    <mainClass>io.springboot.exe.Application</mainClass>
                    <!-- 是否需要打包运行环境 true|false -->
                    <bundleJre>true</bundleJre>
                    <jrePath>C:\Program Files\Java\jre1.8.0_131</jrePath>
                    <!-- 打包成安装包 true|false -->
                    <generateInstaller>true</generateInstaller>
                    <!--  <administratorRequired>true|false</administratorRequired>-->
                    <platform>windows</platform>
                    <!-- 可以携带外部资源打包 需要在resources/assets/windows 下不同平台对应即可-->

                    <name>ExeDemo</name>
                    <organizationName>wxm</organizationName>
                    <organizationUrl>https://springboot.io</organizationUrl>
                    <version>1.0.0</version>
                    <licenseFile>${my.license}</licenseFile>
                    <iconFile>${my.logo}</iconFile>
                    <!--
                        其他平台类似与底下的 winconfig配置类似 具体可以到github仓库查看
                    <linuxConfig> </linuxConfig>
                    <macConfig> </macConfig>
                    -->

                    <winConfig>
                        <!--https://github.com/fvarrui/JavaPackager/blob/master/docs/windows-specific-properties.md-->
                        <generateMsi>false</generateMsi>
                        <exeCreationTool>launch4j</exeCreationTool>
                        <icoFile>${my.logo}</icoFile>
                        <!-- 底下注释的没卵用插件作者默认的模板iss.vtl里没写-->
                        <!--
                         <productVersion>1.0.0.1</productVersion>
                         <fileVersion>1.0.0.2</fileVersion>
                         <copyright>Copyright ©2022-2099 wxm</copyright>
                         -->
                        <setupLanguages>
                            <china>compiler:Languages\china.isl</china>
                            <english>compiler:Default.isl</english>
                        </setupLanguages>

                        <disableDirPage>false</disableDirPage>
                        <disableFinishedPage>false</disableFinishedPage>
                        <disableRunAfterInstall>false</disableRunAfterInstall>
                        <!--<disableProgramGroupPage>false</disableProgramGroupPage>-->
                        <!--<disableWelcomePage>false</disableWelcomePage>-->
                        <createDesktopIconTask>true</createDesktopIconTask>
                    </winConfig>
                </configuration>

            </execution>

        </executions>
    </plugin>
这时候你使用mvn clean package 打包命令就可以愉快的玩耍了~
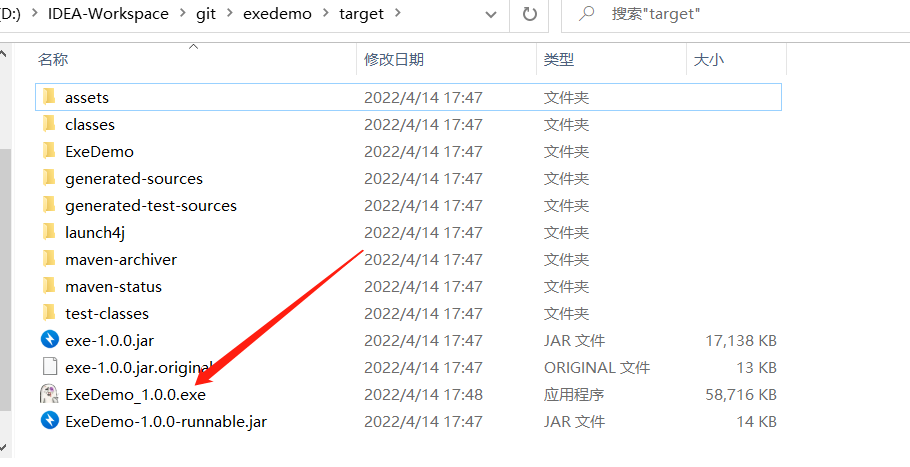
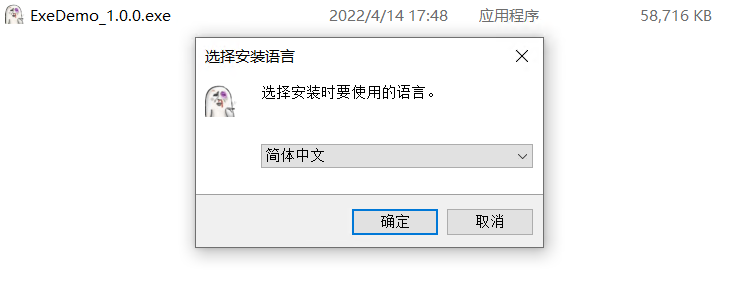
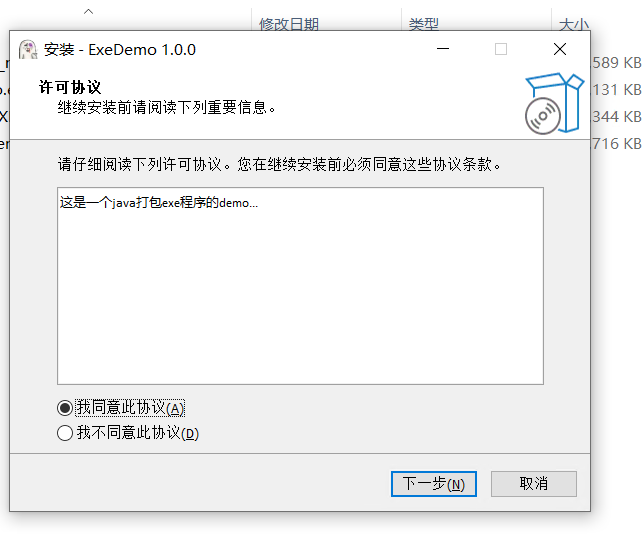
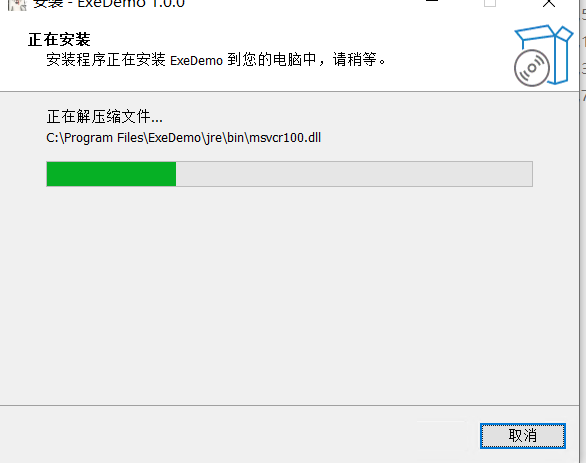
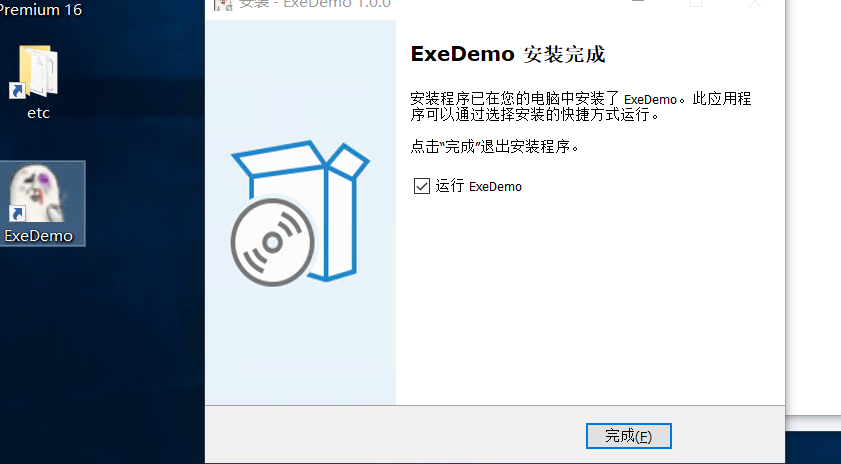
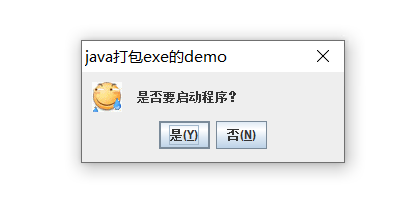
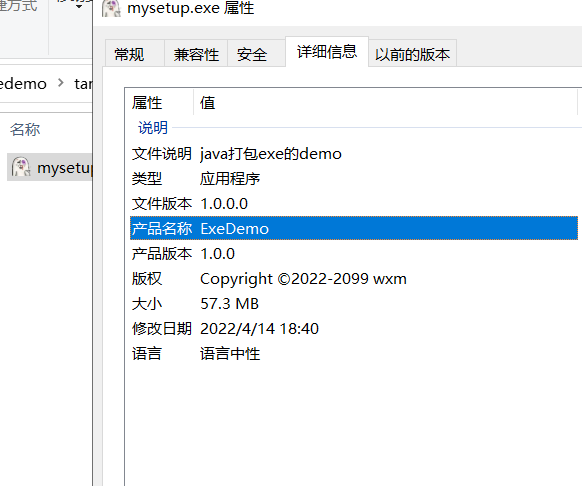
演示
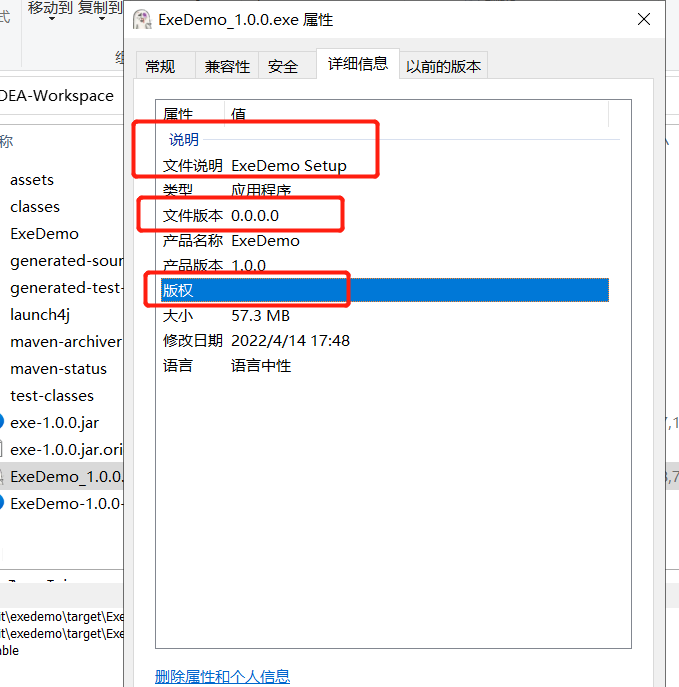
这只是一个 Hello world 工程 但是它的容量达到了惊人的 58M !![]()